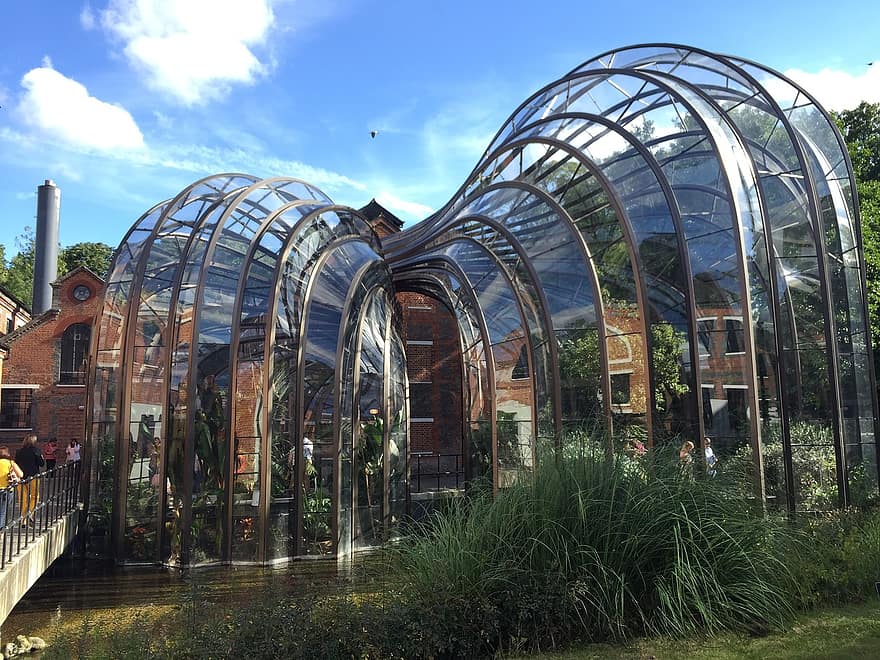
There are a few easy steps on how to build a tunnel greenhouse: choose a pipe and a sheeting, gather tools, create a base, construct the door and floor, and so forth. Why is it vital?
A tunnel greenhouse is essential for your farming and gardening needs. It protects your plants from unpredictable weather like harmful solar rays, frost, and pests. If you want to know how to build a tunnel greenhouse, you’ll find out how through this article.
This customizable structure extends the growing season to possibly all-year-round cultivation of crops, herbs, and other greeneries for a higher-quality harvest. It doesn’t even require you to install electricity and environment-controlling equipment like fans or heaters.
With the right materials and tools, you can provide your plants with the protection they need. Read on the rest of the article to find out how to build a tunnel greenhouse.
Contents
Steps In Building A Tunnel Greenhouse
Climate conditions have been more erratic, that’s why plants needed more protection now more than ever. The tunnel greenhouse is the best and most affordable remedy for it.
In this section, let’s delve into the necessary steps on how to build a tunnel greenhouse. Here are the following:
#1 Choose a pipe for the rib frame
Given the name, the rib section acts as the whole structure’s skeleton, which provides shape and support. These are two of the best materials to choose from: metal and PVC.
Metal is the most durable and the strongest choice, while PVC, on the other hand, is the cheapest and easiest to maneuver. Wood can be an option though it isn’t typically used for the rib.
#2 Choose a sheeting
Sheeting is the cover of the greenhouse. It ranges from plastics to fabrics with different purposes, depending on the planting location and other factors.
Those made in plastics such as polyethylene and twin-wall polycarbonate sheets assure longevity and give better protection against direct heat and radiation. Although the first one can be recyclable, the twin-wall provides more insulation.
Fabric sheetings like row and bed covers are lightweight and air and water permeable. They’re great for low tunnel kinds.
#3 Gather building tools and other materials
You’ll be needing hefty tools for this project. Make sure to have the following; impact driver, saw, hammer, PVC pipe saw (if you’ll use PVC), staple gun, tape measure, and utility knife.
Also, prepare necessary materials such as screws and pipe brackets.
#4 Make a base
The base defines the area and serves as the foundation of the tunnel. There are many ways to build it, but they all have one thing in common- they need to be leveled.
The easiest and cheapest way is by using two layers of 2×4 lumber. This way, you can relocate the greenhouse when necessary. To add more security, attach ground anchors on each corner and sides.
#5 Construct the rib
This is perhaps the trickiest part. But once it’s done properly, everything else will fall to place.
Dig holes to the ground to each of the base’s corner, also to its sides. Make sure the holes are evenly spaced. Then attach the 1 1/4-inch of your chosen pipe with a reducing coupling. Add cement to secure.
Slip one end of the pipe onto one of the pipes that you just cemented. Bend the pipe and slip the other end to the galvanized pipe from the opposite side.
Repeat the process to other pipes.
Each end should be secured to the 2×4 base using U-shape metal pipe brackets. Attach it using washers and screws. Thus, this creates arches that serve as the rib of your greenhouse.
#6 Build a door and doorframe
As costumed, a greenhouse won’t be complete without a door. It’s preferable to use 2×4 lumber for uniformity. Firstly, build a doorframe using 2×4, then screw it to the other end of your base. Install it to the center of the tunnel.
Cut two long 2×4 long beams to span the length of the greenhouse. Screw the beams of the doorframe to the framed wall at the opposite end.
Next, build a door using the same lumber size. Link it to the frame with three butt hinges. You can buy a latch or use a small wood block to act like it and attach it to the doorframe.
#7 Cover using sheeting of choice
With the 4-mil sheeting of your choice (polyethylene, twin-wall polycarbonate sheets, row covers, etc.), cover the whole rib structure. Use staples to secure your sheeting, ensure to space it 3 inches apart. Don’t forget to staple some sheets to both doors and doorframes.
Finally, cut the sheeting with a utility knife around the door.
#8 Wrap with shade cloth (optional)
Shade cloths work best during summer, for it has added protection against intense heat temperature, light, and wind exposure. Add it on top of the sheeting, and it serves as a second layer.
Cut the cloth according to the greenhouse’s measurements. Hang it with equal portions on both sides. Secure it by stapling it to the frame.
Conclusion
We hope that these steps helped you on how to build a tunnel greenhouse. It’s up to you now to choose your materials that match your wants and needs. So grab your toolbox and get started!
