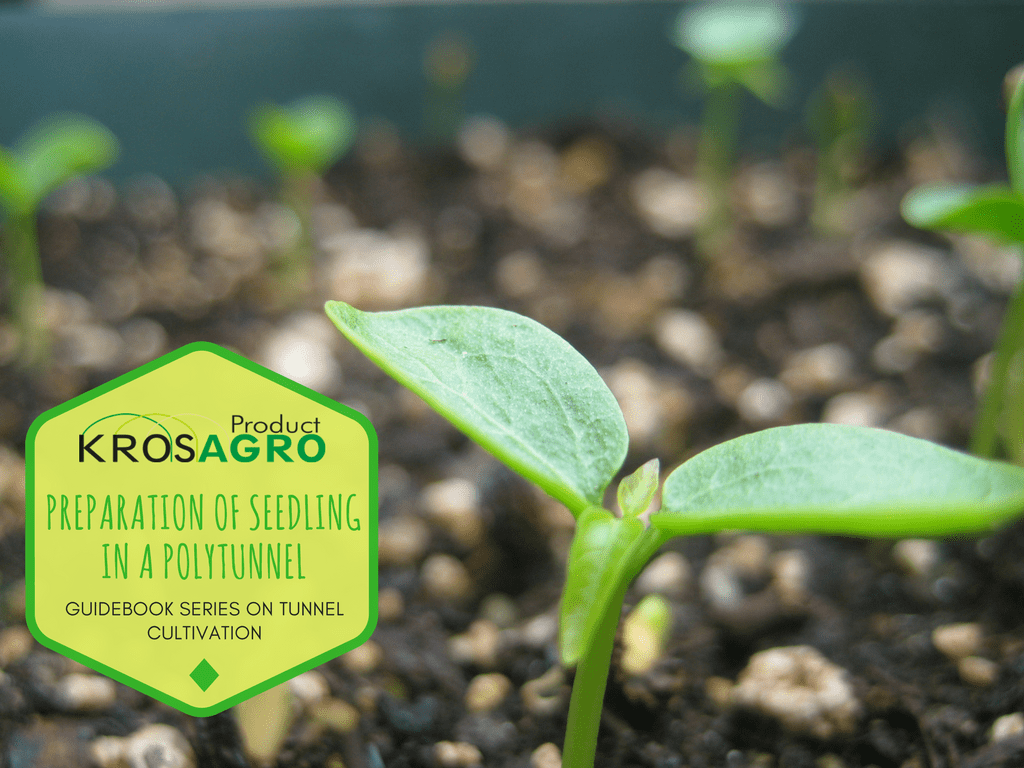
Preparing seedlings is not as difficult as it seems, you just need to follow a few rules. For many gardeners, growing plants from the beginning to the end is a test of skills that results in a lot of satisfaction. For both small and large production under cover. It represents a considerable saving, as each seedling can cost a few dozen cents, and you usually need to buy more than one. In addition, most thermophilic crops planted directly into the ground. May have too little time to grow and reach a fully mature state. Preparing seedlings first is a much better solution, with a later transfer to a permanent place in the foil tunnel.
This time in the Krosagro guide on “crops under cover“. We will tell you how to care for seedlings step by step. What to watch out for and what to avoid.
What is a seedling?
It is a young plant with a few leaves , at an early stage of development. But mature enough to be planted in a permanent location. A lot of cultivated species come from regions with a warmer climate, and seeds require much higher temperatures than the prevailing weather outside. For many seedlings exposed to such conditions. This leads to a slow growing process at every stage. Meaning they may not have enough time to develop flowers and fruits until autumn. The operation can be carried out in greenhouses or mini foil tunnels. Several structures can even be combined to achieve the expected result. So a greenhouse can contain a mini foil tunnel as a second cover.
How to prepare seedling?
In order to produce the optimal seedling, use a good substrate, seed material and then create favorable conditions under cover.
- Substrate – a substrate rich in nutrients, macro and micronutrients. Which will boost seeds in the initial stage of development. Manufacturers supply peat created specifically for a given group of plants, and even intended for a specific variety. The substrate itself should also have adequate air and water properties and be free of any pathogens and pests.
- Seed – when selecting seeds for a polytunnel, one should be guided by their high germination capacity. Their strength and protection against fungal diseases. It’s good to choose from certified manufacturers or from a reliable source. It will be equally important to select those seeds that have been adapted to grow in a polytunnel.
- Conditions for development – everything will depend on what is grown in the polytunnel, and the most optimal conditions for a given plant will guarantee the highest yield. Before you start cultivating, you should become familiar with the requirements and needs of the crop.
Seedling preparation – step by step
The substrate is passed through a sieve with fine mesh (2mm), then used to fill pots, boxes or multi-trays with it. Level the ground, then pack lightly.
- Spread the seed evenly over the surface of the container. Plant large seeds with intervals of 2 or 3 so that they do not crush each other.
- Now it’s time to cover the seeds with sand or substrate. This layer should be three times the diameter of the seed. Small and light seeds are not covered with additional substrate but pressed inside.
- Water the substrate using a sprinkler. Avoid a strong stream of water that could wash out the seeds.
- Seedlings prepared this way are placed in a mini foil tunnel. It will be very important to mark pots to recognize them easily. The whole structure is placed in a lit and warm place.
- As soon as the first seedlings appear and as temperature allows, remove the cover. Systematically water the plant, but only when the soil has dried.
- In a situation when plants grow too densely, they darken each other or could become thin and develop stems without leaf formation. To avoid this, you have to prick them out . During the entire procedure, be very careful not to damage the seedlings.
- As soon as the plant develops (usually 2 to 4 leaves), you can plant it permanently.
- Now it’s time to harden them, so that they get more vigorous. For 4 to 8 days, leave them outside in the shade and put them back under cover at night. This process can be carried out without the need of manual labour, as long as your foil tunnel is equipped with lateral ventilation.
- When planting, remember to place them at the same depth as grown in the pot.
